OBIEE repository contains all metadata of the BI Server and is managed through the administration tool. It is used to store information about the application environment such as −
- Data Modeling
- Aggregate Navigation
- Caching
- Security
- Connectivity Information
- SQL Information
The BI Server can access multiple repositories. OBIEE Repository can be accessed using the following path −
BI_ORACLE_HOME/server/Repository -> Oracle 10g
ORACLE_INSTANCE/bifoundation/OracleBIServerComponent/coreapplication_obisn/-> Oracle 11g
OBIEE repository database is also known as a RPD because of its file extension. The RPD file is password protected and you can only open or create RPD files using Oracle BI Administration tool. To deploy an OBIEE application, the RPD file must be uploaded to Oracle Enterprise Manager. After uploading the RPD, the RPD password then must be entered into Enterprise Manager.
Designing an OBIEE Repository using Administration Tool
It is a three layer process − starting from Physical Layer (Schema Design), Business Model Layer, Presentation Layer.
Creating the Physical Layer
Following are the common steps involved in creating the Physical Layer −
- Create physical joins between the Dimension and Fact tables.
- Change the names in the physical layer if required.
The physical layer of repository contains information about the data sources. To create the schema in the physical layer you need to import metadata from databases and other data sources.
Note − Physical layer in OBIEE supports multiple data sources in a single repository - i.e. data sets from 2 different data sources can be performed in OBIEE.
Create a New Repository
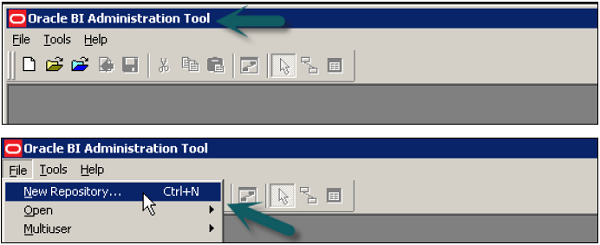
Go to Start → Programs → Oracle Business Intelligence → BI Administration → Administration Tool → File → New Repository.
A new window will open → Enter the name of Repository → Location (It tells the default location of Repository directory) → to import metadata select radio button → Enter Password → Click Next.
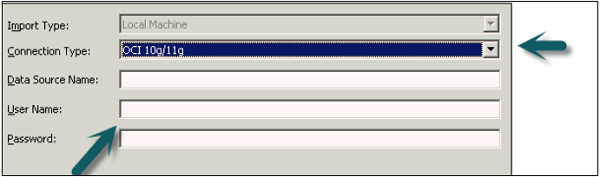
Select the connection type → Enter Data Source name and User name and password to connect to data source → Click Next.
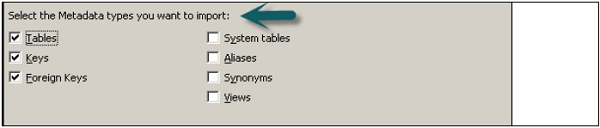
Accept the meta types you want to import → You can select Tables, Keys, Foreign Keys, System tables, Synonyms, Alias, Views, etc. → Click Next.
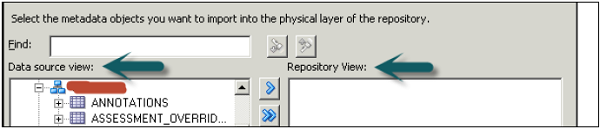
Once you click Next, you will see Data Source view and Repository view. Expand the Schema name and select tables you want to add to Repository using Import Selected button → Click Next.
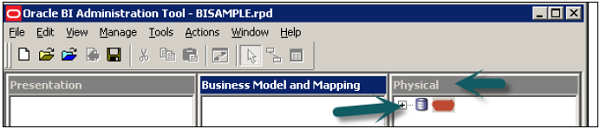
Connection Pool window opens up → Click OK → Importing window → Finish to open the repository as shown in the following image.
Expand the Data Source → Schema name to see the list of tables Imported in Physical Layer in the new Repository.
Verify Connection and Number of Rows in Tables Under Physical Layer
Go to tools → Update all rows counts → Once it is completed you can move the cursor on the table and also for individual columns. To see Data of a table, right-click on Table name → View Data.

Create Alias in Repository
It is advisable that you use table aliases frequently in the Physical layer to eliminate extra joins. Right-click on table name and select New Object → Alias.
Once you create an Alias of a table it shows up under the same Physical Layer in the Repository.
Create Primary Keys and Joins in Repository Design
Physical Joins
When you create a repository in OBIEE system, physical join is commonly used in the Physical layer. Physical joins help to understand how two tables should be joined to each other. Physical joins are normally expressed with the use of Equal operator.
You can also use a physical join in BMM layer, however, it is very rarely seen. The purpose of using a physical join in BMM layer is to override the physical join in the physical layer. It allows users to define more complex joining logic as compared to physical join in the physical layer so it works similar to complex join in the physical layer. Therefore, if we are using a complex join in the physical layer for applying more join conditions, there is no need to use a physical join in BMM layer again.

In the above snapshot, you can see a physical join between two table names − Products and Sales. Physical Join expression tells how the tables should be joined with each other as shown in the snapshot.
It is always recommended to use a physical join in the physical layer and complex join in BMM layer as much as possible to keep Repository design simple. Only when there is an actual need for a different join, then use a physical join in BMM layer.
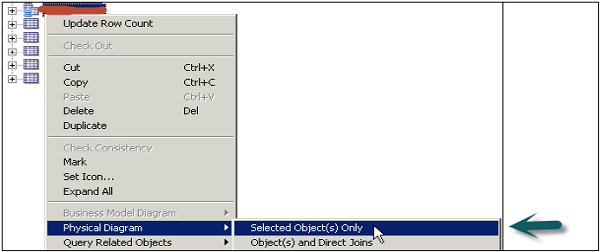
Now to join tables while designing Repository, select all the tables in the Physical layer → Right-click → Physical diagram → Selected objects only option or you can also use Physical Diagram button at the top.
Physical Diagram box as shown in the following image appears with all the table names added. Select the new foreign key at the top and select Dim and Fact table to join.

Foreign Key in Physical Layer
A Foreign key in the physical layer is used to define Primary key-Foreign key relation between two tables. When you create it in the physical diagram, you have to point first the dimension and then the fact table.
Note − When you import tables from schema into RPD Physical Layer, you can also select KEY and FOREIGN KEY along with the table data, then the primary key-foreign key joins are automatically defined, however it is not recommended from performance point of view.

The table you click first, it creates one-to-one or one-to-many relationship that joins column in first table with foreign key column in the second table → Click Ok. The join will be visible in Physical Diagram box between two tables. Once tables are joined, close the Physical diagram box using ‘X’ option.
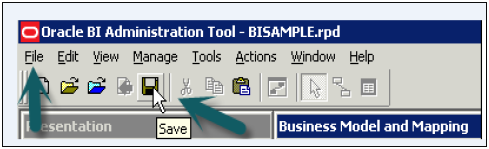
To save the new Repository go to File → Save or click the save button at the top.
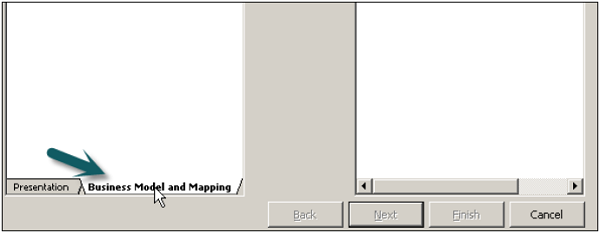
Creating Business Model and Mapping Layer of a Repository
It defines the business or logical model of objects and their mapping between business model and Schema in the physical layer. It simplifies the Physical Schema and maps the user business requirement to physical tables.
The Business Model and Mapping layer of OBIEE system administration tool can contain one or more business model objects. A business model object defines the business model definitions and the mappings from logical to physical tables for the business model.
Following are the steps to build the Business Model and Mapping layer of a repository −
- Create a business model
- Examine logical joins
- Examine logical columns
- Examine logical table sources
- Rename logical table objects manually
- Rename logical table objects using the rename wizard and deleting unnecessary logical objects
- Creating measures (Aggregations)
Create a Business Model
Right-click on Business Model and Mapping Space → New Business Model.
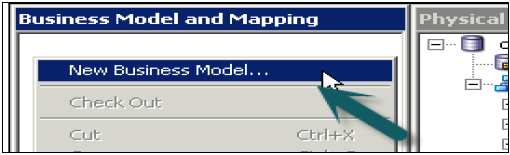
Enter the name of Business Model → click OK.
In the physical layer, select all the tables/alias tables to be added to Business Model and drag to Business Model. You can also add tables one by one. If you drag all the tables simultaneously, it will keep keys and joins between them.
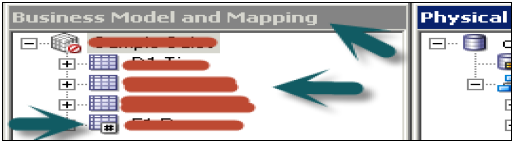
Also note the difference in icon of Dimension and Fact tables. Last table is Fact table and top 3 are dimension tables.
Now right-click on Business model → select Business Model diagram → Whole diagram → All tables are dragged simultaneously so it will keep all joins and keys. Now double click on any join to open the logical join box.
Logical and Complex Joins in BMM
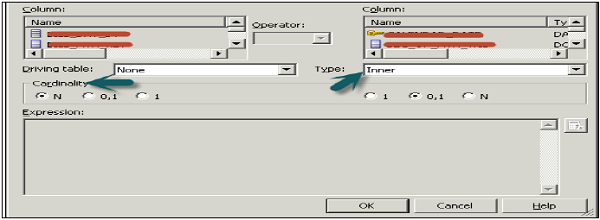
Joins in this layer are logical joins. It doesn’t show expressions and tells the type of join between tables. It helps Oracle BI server to understand the relationships between the various pieces of the business model. When you send a query to Oracle BI server, the server determines how to construct physical queries by examining how the logical model is structured.
Click Ok → Click ‘X’ to close the Business model diagram.
To examine logical columns and logical table sources, first expand the columns under tables in BMM. Logical columns were created for each table when you dragged all tables from the physical layer. To check logical table sources → Expand the source folder under each table and it points to the table in the physical layer.
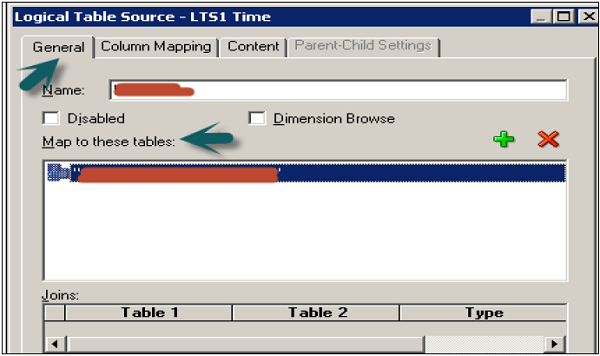
Double-click the logical table source (not the logical table) to open the logical table source dialog box → General tab → rename the logical table source. Logical table to physical table mapping is defined under "Map to these tables" option.
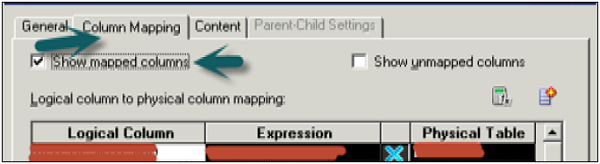
Next, Column mapping tab defines the logical column to physical column mappings. If mappings are not shown, check the option → Show mapped columns.
Complex Joins
There is no specific explicit complex join like in OBIEE 11g. It only exists in Oracle 10g.
Go to Manage → Joins → Actions → New → Complex Join.
When complex joins are used in the BMM layer, they act as placeholders. They allow the OBI Server to decide on which are the best joins between fact and dimension logical table source to satisfy the request.
Rename Logical Objects Manually
To rename logical table objects manually, click the column name under the Logical table in BMM. You can also right-click on column name and select option rename, to rename the object.
This is known as manual method to rename objects.
Rename Objects Using the Rename Wizard
Go to Tools → Utilities → Rename Wizard → Execute to open the rename wizard.

In the Select Objects screen, click Business Model and Mapping. It will show Business Model name → Expand Business Model name → Expand logical tables.
Select all the columns under the logical table to rename using the Shift key → Click Add. Similarly, add columns from all other logical Dim and Fact tables → click Next.

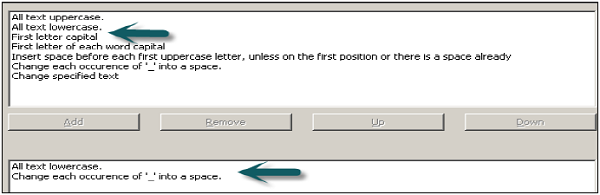
It shows all logical columns/tables added to wizard → Click Next to open Rules screen → Add rules from the list to rename like : A;; text lower case and change each occurrence of ‘_’ to space as shown in the following snapshot.
Click Next → finish. Now, if you expand Object names under logical tables in Business model and Objects in the physical layer, objects under BMM are renamed as required.
Delete Unnecessary Logical Objects
In the BMM layer, expand Logical tables → select objects to be deleted → right-click → Delete → Yes.

Create Measures (Aggregations)
Double-click on the column name in the logical Fact table → Go to Aggregation tab and select the Aggregate function from the dropdown list → Click OK.
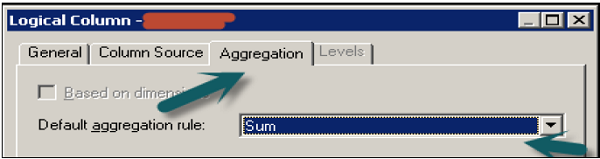
Measures represent data that is additive, such as total revenue or total quantity. Click on save option at top to save the repository.
Creating the Presentation Layer of a Repository
Right-click on Presentation area → New Subject Area → In the General tab enter the name of subject area (Recommended similar to Business Model) → Click OK.

Once subject area is created, right click on subject area → New presentation table → Enter the name of the presentation table → Click OK (Add number of presentation tables equal to number of parameters required in the report).

Now, to create columns under Presentation tables → Select the objects under logical tables in BMM and drag them to Presentation tables under subject area (Use Ctrl key to select multiple objects for dragging). Repeat the process and add the logical columns to the remaining presentation tables.
Rename and Reorder Objects in Presentation Layer
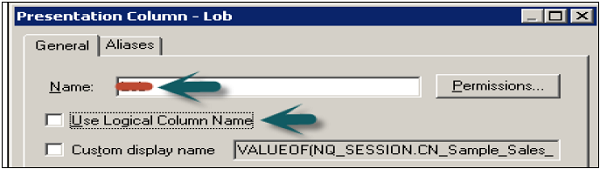
You can rename the objects in Presentation tables by a double-click on logical objects under subject area.
In General tab → Deselect the check box Use Logical column name → Edit the name field → Click OK.
Similarly, you can rename all the objects in the Presentation layer without changing their name in BMM layer.
To order the columns in a table, double-click on the table name under Presentation → Columns → Use up and down arrows to change the order → Click OK.

Similarly, you can change objects order in all presentation tables under Presentation area. Go to File → Click Save to save the Repository.
Check Consistency and Load the Repository for Query Analysis
Go to File → Check Global Consistency → You will receive the following message → Click Yes.
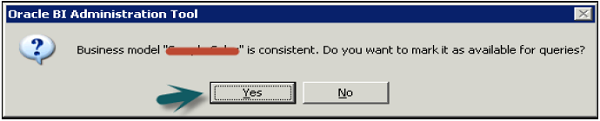
Once you click OK → Business model under BMM will change to Green → Click save the repository without checking global consistency again.
Disable Caching
To improve query performance, it is advised to disable BI server cache option.
Open a browser and enter the following URL to open Fusion Middleware Control Enterprise Manager: http://<machine name>:7001/em
Enter the user name and password and click Login.
On the left side, expand Business Intelligence → coreapplication → Capacity Management tab → Performance.
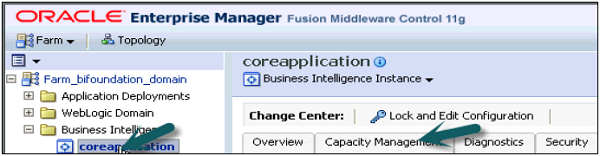
Enable BI Server Cache section is by default checked → Click Lock and Edit Configuration → Click Close.

Now deselect cache enabled option → It is used to improve query performance → Apply → Activate Changes → Completed Successfully.
Loading the Repository
Go to Deployment tab → Repository → Lock and Edit Configuration → Completed Successfully.
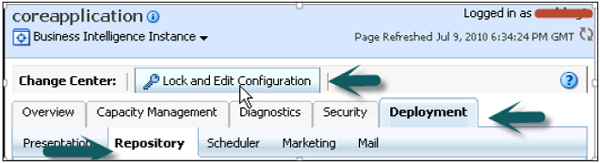
Click Upload BI Server Repository section → Browse to open the Choose file dialog box → Select the Repository .rpd file and click on Open → Enter Repository password → Apply → Activate Changes.
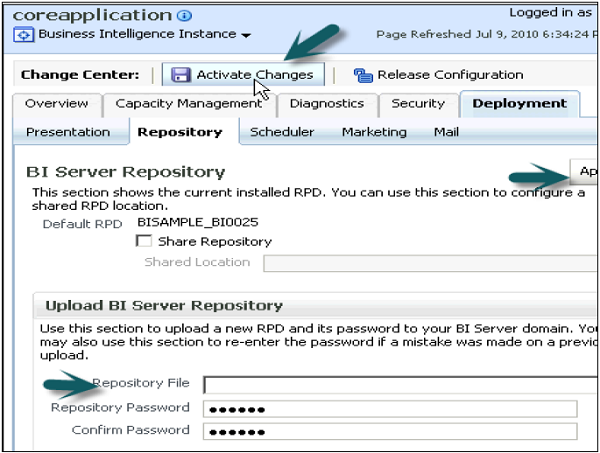
Activate Changes → Completed Successfully → Click Restart to apply recent changes option on top of the screen → Click Yes.
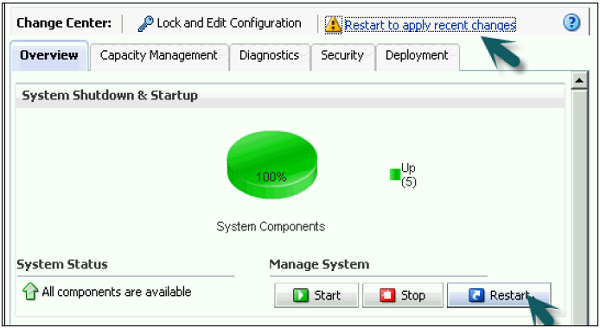
Repository is successfully created and loaded for query Analysis.
No comments:
Post a Comment